
How to Generate a Slugkit Website with the slug CLI
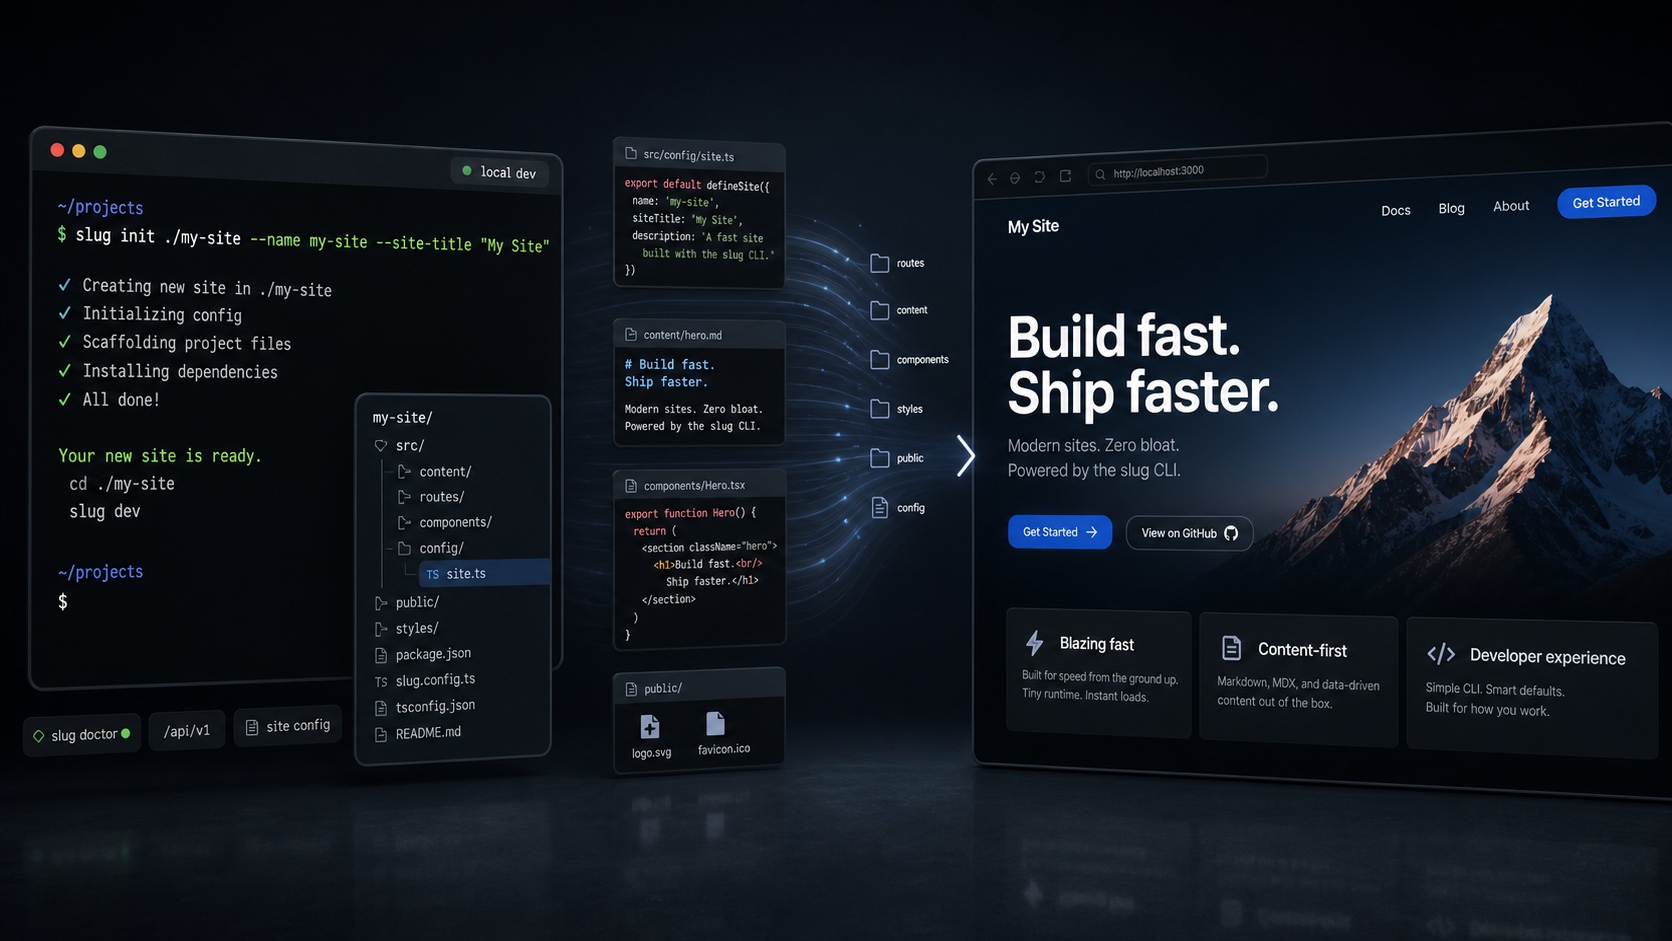
Slugkit is built around a simple idea: your website should own its code, design, data, deployment, and publishing behavior, but compatible sites should still be manageable with shared tools. The slug CLI is the tool that makes that possible. Its slug init command creates a new standalone Slugkit-compatible website from the official template so you can start with a working publishing site instead of a blank repo.
What slug init does
slug init is a local filesystem command. It copies the Slugkit template website into a directory you choose, applies basic project and site identity values, and leaves you with an independent website project. The generated site does not include the Slugkit CLI source code. It is not a thin client of a central Slugkit app. It is your site.
That independence is important. After generation, you can customize routes, templates, styles, assets, deployment, and local behavior. The shared contract is the Slugkit API under /api/v1. As long as the generated site keeps that compatibility surface intact, the slug CLI can keep managing it.
Prerequisites
For local development, you will want Node.js 24 or newer and npm. The generated template uses TypeScript and npm scripts, so those are the baseline requirements.
Slugkit also uses Overmind for its local development process manager. The generated site includes a Makefile and Procfile.dev so make dev can start the app and the Tailwind CSS watcher together. Install Overmind before relying on that workflow.
If you plan to use local S3-compatible media storage, you will also need Docker with Docker Compose. Slugkit’s toolkit development environment uses Garage for local S3-compatible storage, and standalone sites can be configured for local or production S3-compatible object storage before you start uploading media.
Install the slug CLI
Install the Slugkit CLI globally from npm:
npm install -g @evcraddock/slug-cliAfter installation, confirm that the slug command is available:
slug --helpCreate a new site
Run slug init with a target directory and package name:
slug init ./my-site --name my-site --site-title "My Site"The target directory is where the standalone website project will be written. The --name value is the generated npm package/project name. The optional --site-title value is the public human-readable title for the site. If you omit --site-title, Slugkit derives a readable title from --name.
slug init refuses to write into a non-empty directory. That guardrail keeps you from accidentally mixing generated template files into an existing project.
You can also ask for JSON output when scripting site creation:
slug init ./my-site --name my-site --site-title "My Site" --jsonWhat gets generated
A generated Slugkit site includes the template application source, setup documentation, package metadata, .env.example, database migration commands, public routes, settings routes, Slugkit API routes, styling files, assets, and deployment-oriented files such as a Dockerfile. It does not include the CLI workspace or CLI implementation source.
The generated site is a working website starter. It includes public pages, feeds, settings screens, API key management, post APIs, OpenAPI metadata, and the structure needed for features such as media storage and ActivityPub federation.
Start the generated site locally
Move into the generated site and install dependencies:
cd ./my-site
npm install
Copy the example environment file and edit it for your local machine:
cp .env.example .envAt minimum, configure the SQLite database path and admin login settings. For local development, set the admin email and use development-mode authentication if you want magic links written to logs instead of sent through SMTP.
Run database migrations:
npm run db:migrate
npm run db:status
Start the local development environment:
make devBy default, the local site listens on port 3000. Open the public site at http://localhost:3000 and the settings UI at http://localhost:3000/settings.
Create an API key for the CLI
Sign in to the settings UI, then open the API key management page at /settings/api-keys. Create an API key for CLI access and copy it immediately, because API keys are only shown once.
Then configure a named site profile in the CLI:
slug config site add my-site --api-base-url http://localhost:3000/api/v1 --api-key <copied-api-key>Run diagnostics with slug doctor
After configuring the site profile, run diagnostics:
slug --site my-site doctorslug doctor checks whether the selected site is reachable and compatible with the CLI. It verifies the API health endpoint, bootstrap metadata, OpenAPI document, and API key authentication when a key is configured. This is the first command to run when something feels misconfigured.
Customize the generated site
Start with src/config/site.ts. That file contains the first-pass site identity and public copy, including values such as name, URL, tagline, description, homepage intro, homepage body, navigation, and footer links.
For visual changes, edit the public template and CSS files rather than trying to force design into runtime config. The main places to look are src/templates/public.tsx for public HTML/template structure and Tailwind utility classes, and src/styles/tailwind.css for shared public styling. The generated src/styles/public.css file is build output.
Replace assets in src/assets/ to make the site feel like yours. For example, swap out the default logo image and update public navigation and footer links to match the site you are building.
You can also manage some safe runtime/public configuration through the API and CLI after the site is running. For example, supported site config fields include values such as name, url, tagline, description, homepage.intro, and homepage.body.
What not to edit casually
Keep secrets and deployment-specific values out of public template files. Do not casually commit API keys, SMTP credentials, S3 credentials, private ActivityPub keys, production database paths, or host-specific deployment configuration.
Those values belong in .env, your deployment secret store, your container host configuration, or another private operations layer. Slugkit’s design draws a boundary between safe public/runtime configuration and infrastructure secrets because generated sites are meant to be customized by humans and automation without exposing private operational details.
Preserve /api/v1 compatibility
You can change the site’s design and add local behavior, but preserve the Slugkit API contract if you want shared tooling to keep working. The CLI talks to the management API under /api/v1; it should not need to know how your public homepage, post pages, or custom routes are implemented.
The important compatibility routes include metadata discovery, OpenAPI discovery, authentication checks, site configuration, posts, tags, media, contacts, sources, and social/audience endpoints where implemented. If your site does not support an optional operation, it should return the standardized not-implemented response rather than silently diverging.
This is the core Slugkit tradeoff: customize the site freely, but keep the management contract predictable.
Next steps
Once slug doctor passes, start creating content. Use the CLI to create draft posts, review them, and publish explicitly:
slug --site my-site post create --type article --slug hello-slugkit --title "Hello Slugkit" --content "My first Slugkit post."
slug --site my-site post publish hello-slugkit
When media storage is configured, upload media through the CLI:
slug --site my-site media upload ./hero.jpg --alt "Hero image for my first Slugkit post"When the site has a stable HTTPS domain, you can configure ActivityPub federation. Set up the primary actor in the settings UI, verify WebFinger and actor routes, and only enable federation once the public origin and identity are stable.
From there, the generated site is yours. Slugkit gives you the starter shape and shared tools; you keep ownership of the website.